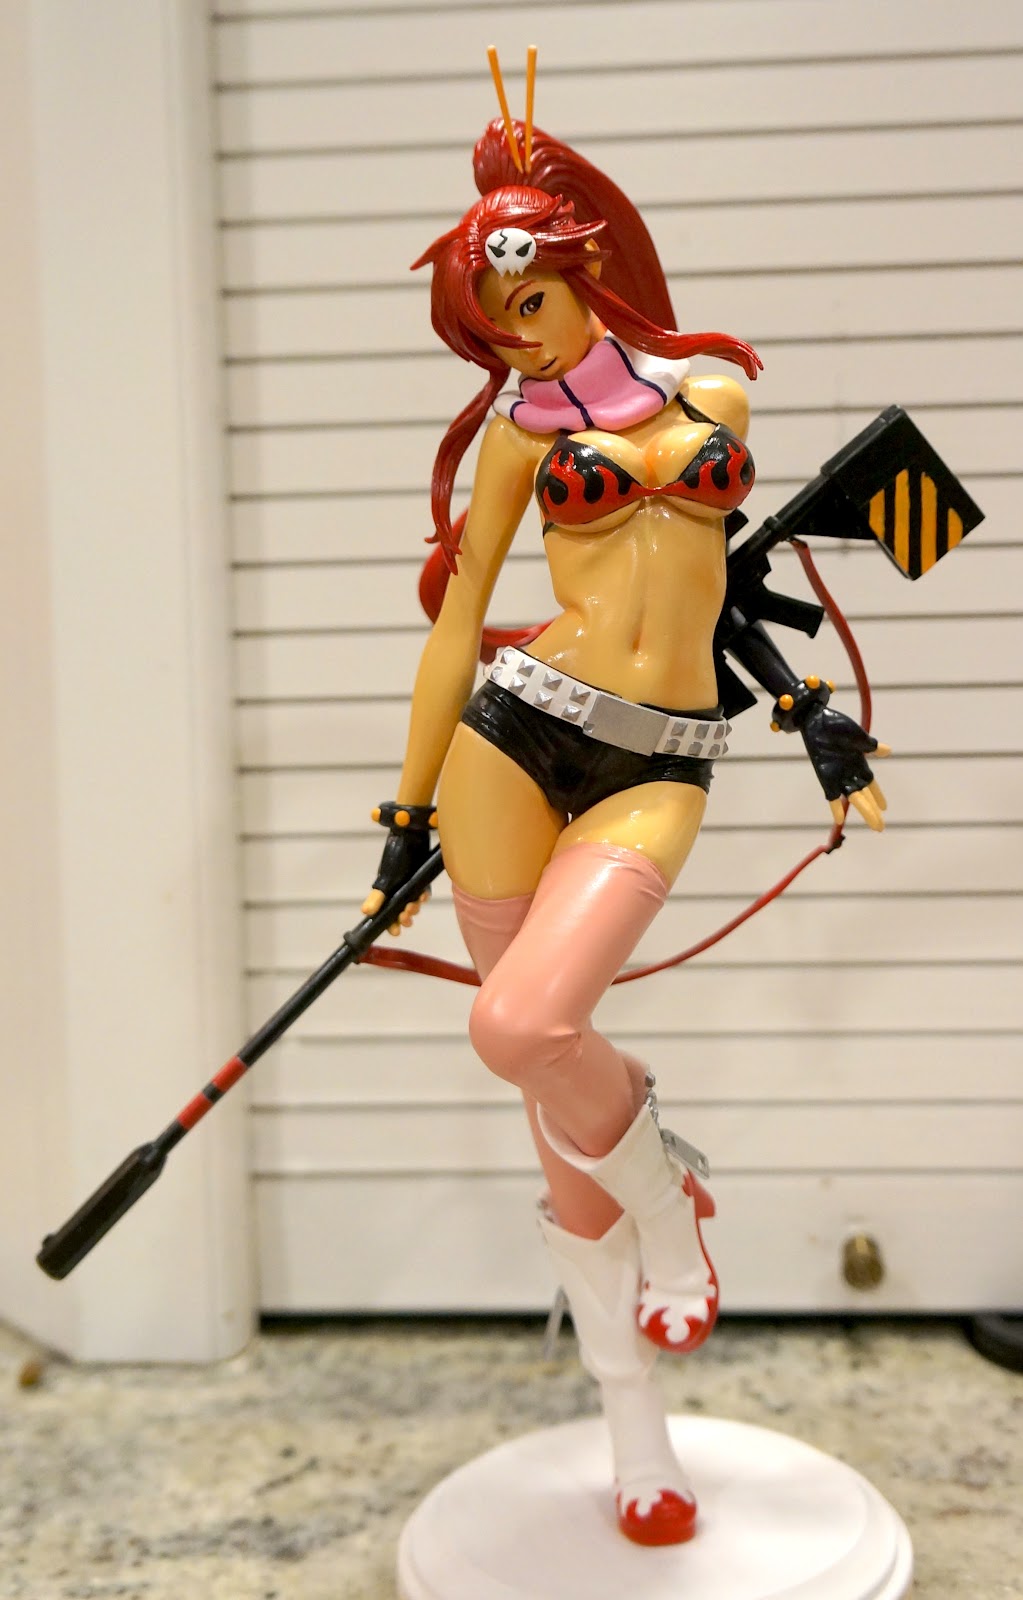
I'm not a huge Gurren Lagann fan. Actually, I've only seen the first 5 episodes. But I REALLY appreciate realistic figures. So, since I knew the character and they had one for sale, I decided to do her.
This figure marks the starting point of me using the airbrush extensively. Previously, it was used for only a part or two, but this time, it was used everywhere it was feasible. So, obviously, I had a lot to learn about airbrushing, and I certainly did. Actually, most of the hard lessons had NOTHING to do with airbrush painting skill, but to do with the equipment and processes.
I haven't really been using a primer for a base coat. I hadn't needed it so far. So this time, when I went out to start airbrushing, I noticed that certain figures really really beaded up when I sprayed them. Of course I knew the reasons, but I was still lazy and tried to get away with just doing a few thin layers at first before laying it on thick. This works, but the problem is that the paint will chip off even from light handling - - it's kinda ridiculous how easy it was to chip this stuff off. I was already done with the base layers of paint on this figure before I decided to stop trying to skip the primer.
Lesson 26: Don't skip the primer when using airbrush
I made plenty of mistakes airbrushing her - mostly with masking. It turns out that the 'blue' tape I was using is too sticky and would often rip off the paint it was taped over. Obviously this was a hug hassle. I learning early that I was better off not letting the tape stay on longer than it needed to. I also purchases some Tamiya masking tape at the very end of the project, and discovered how wonderful and perfect it is.
Another lesson I learned here with airbrush paint - you HAVE TO use a primer. really really. No more skipping it, like I could with the handpainted acrylic. Oh well.
I STILL noticed a lot of beading up with the primer itself, which I thought was supposed to stick to just about everything. I noticed that the Tamiya primer spray, while much finer than my cheap sandable auto primer, was having a hard time 'sticking' to the figure. The sandable auto primer was better, but still beaded up some. I knew this was due to oils or casting residue on the figure parts, but I'd always managed before, so I tried to force it. All in all, after much effort and not so great results, I can only say that I have decided to soap all my parts from now on. Unfortunately, again, this figure didn't benefit from this new policy.
Lesson 27: Don’t skip the soap wash. Let sit in a degreaser overnight and wipe it off. Even a little bit will really help on bad pieces. I found that not all pieces had a problem, so on some, it didn't make a difference.
I've really grown used to doing my figures in a production line style rather than in a series. I take several figures, prep them all together, wash them all together, paint all the similarly colored pieces together, and only then do I pick one to complete before moving on to the others. This parallel production has it's pro's and con's - the main pro, being that when using an airbrush, I have to clean it less. The main con here, would be that since I'm still in the learning process with the airbrush, when I fail, I fail across multiple figures, instead of having only messed up on one. I mention this, because that is exactly what happend during the production of this figure. As it turns out, I really don't like the skin tone I chose. Or rather, I think the tone fits ok for this figure itself, but since I did 4 in parallel, the three other figures also go this same skin tone - - however, it doesn't look right on any of those characters. Now, I have two choices: spend a LOT of time to sand them all down, or just go with the color. I'm fairly certain that I'm going to sand them down, but I don't even want to think about how much time it's going to take.
So, Lesson 28: if you are still learning, don't try to shortcut parts of the process: take every figure as a chance to learn.
Another huge hassle here was with the finish. Because the paint kept coming off (bad tape and / or no primer), I put a clear finish on it. However, I kept on having bad luck. The first finish I used dried YELLOW!! omG!! Not only that, but it made the paint crack!! Krylon clear matte finish sux!! I tried another Krylon: Low odor matte finish, and got better results: it dries clear enough, but it still has a problem with tearing up. I'll continue using the Krylon Low Odor finish, but just be much more careful not to spray too much. OH! and NEVER spray a layer of finish, a layer of paint, and then another layer of finish!! You'll regret it.


No comments:
Post a Comment