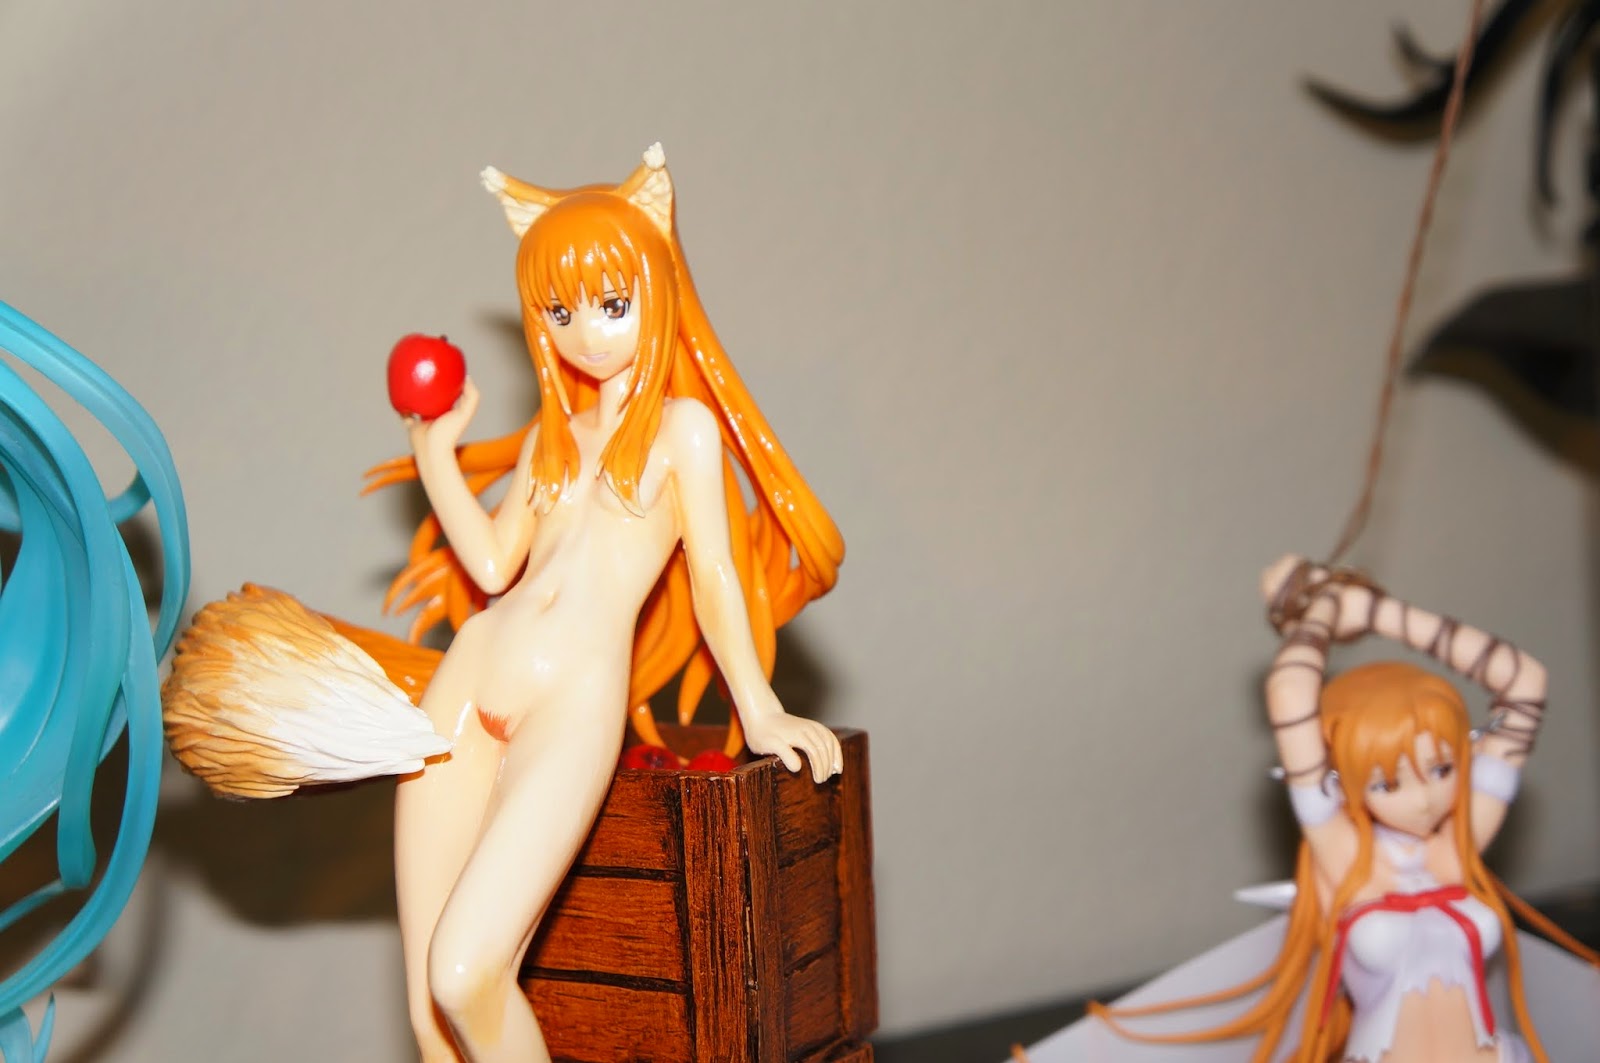
I mentioned in my last post that I purchased five figures from two Ebay sellers - but that's not true - because I forgot about a sixth figure purchased from a third seller. This sixth figure, unlike the other five, ended up being from a e2046-like seller - one which knew WTF they were doing and produced a kit which is as good as the original. I tried to find the seller, or the source of the figure, to no avail - so I don't know who to thank, or more importantly, who to buy some more from.
About the figure. This time, instead of using acrylics, because there was much more fading and gradient in this figure, I decided to use oil paints. So all the lessons I learned during this figure were about using oil paints. Except one.
Lesson 3: Using the oven to reshape the PVC
The first figure, as well as the third, were both RESIN. Which I am told does not reshape so easily. But this figure was good ol' PVC, so I accidentally discovered that I could reshape (bend it) by sticking it in the oven on 150F for a few hours. I'm sure I could have turned it up higher but I didn't want an accident. But it was super simple, and at that temperature, there was no "melt", where small pieces get really out of shape. So pop it in, take it out, bend it.
I say that this was an accidental discovery because I didn't stick it in the oven to bend it. I stuck it in the oven to dry the oil paint.
Lesson 4: Dry the oil pain in the oven overnight
Because I used oil paints on this figure, I discovered that even after three days in the open, the paint remained "wet". I read a bit later that this is actually a feature of oil paints - painters don't have to rush. And it's true, acrylics dry way too fast, but I'd say a few days is a bit slow. I can't image how long this figure would have taken if I had to wait a week for the pain to dry. So I did a little research, and found out that heat would make it dry faster. So I took the risk, put the oven on low, 150F, and left the figure's leg in the oven overnight. And low and behold, the next day, full 24 hours later, I take it out and it was dry as a bone. Excellent!
Following that little discovery, I was able to move fast and get the figure base layer done. If you didn't know, I like painting a base coat on all the figures, over which I paint on a second layer which would include any fading, shading, or gradients. There's an occasional third layer for the small bits or the accessories. The body, the bag, the apples, the hair, and the tail were all rather straight forward. I did mess up on the tail and have to redo it, but again it wasn't tricky.
Lesson 5: Dry wipe (oil)
Watching youtube, I discovered a technique I liked and tried to great success in this figure: the dry wipe. Basically, I pain a base layer, dry it, then paint a top layer, and wipe it off lightly soon afterwards. I did this for the boxes and the apples in the boxes (even though you can't really see them ... a lot of effort for bits you can't even see). I like it so much I tried to redo the bag with the technique, and it turned out ok, but wasn't near as good.Lesson 6: Acrylic dry wipe
It worked sooo well, I wondered what would happen if I used acrylic to the same affect. I noticed that the oils created a fairly thick color difference with the dry wipe, and I thought that acrylics would be able to produce something similar but with a thinner color. As it turns out, I was right, but boy did I come close to messing it up. As you know, acrylics dry fast, but I was not prepared for just how fast they would dry before they just wouldn't wipe off at all! So the wipe affect didn't work near as well, but it turns out, it was exactly what I needed. With acrylics, apparently the thicker areas wipe off better, since the medium has takes longer to evaporate, whereas the thinner areas dried faster and just wouldn't wipe off unless I wiped within a few seconds. Anyway, you can see for yourself - the stones were done with a base coat of black acrylic, a top coat of grey oil paint, and a highlight using the wipe method with a white acrylic paint. I made the middle layer of grey oil paint because I thought it would help keep the white acrylic from drying so fast - turned out that it didn't work.


No comments:
Post a Comment